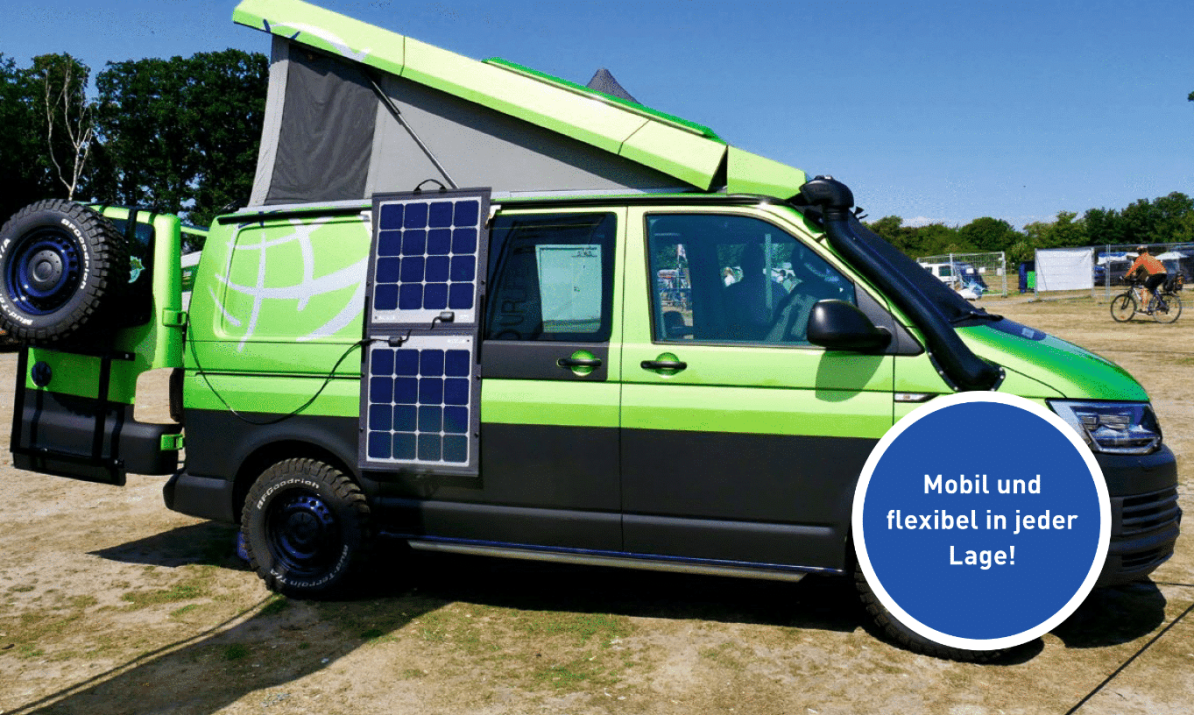
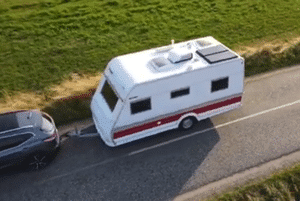
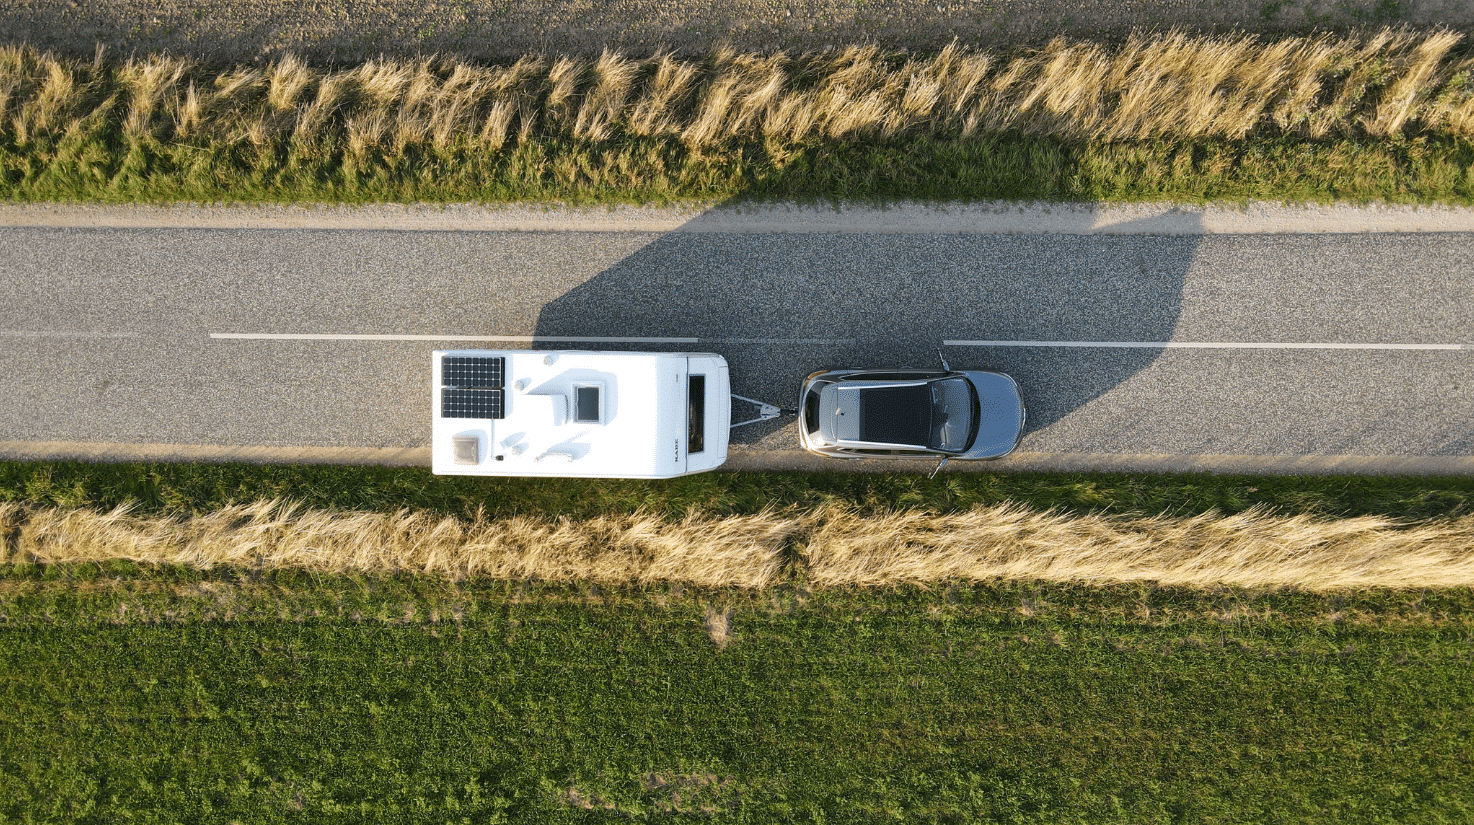
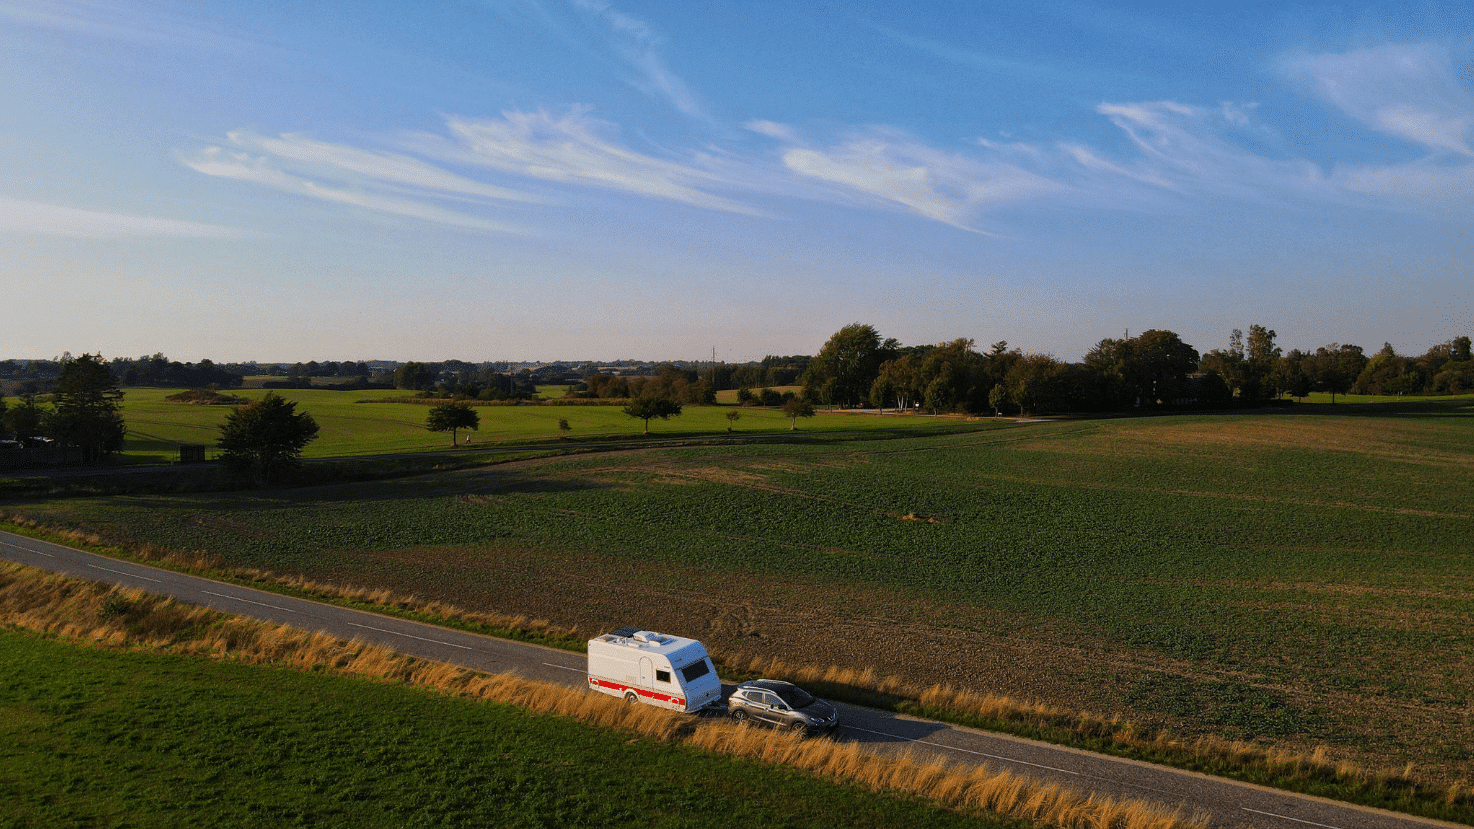
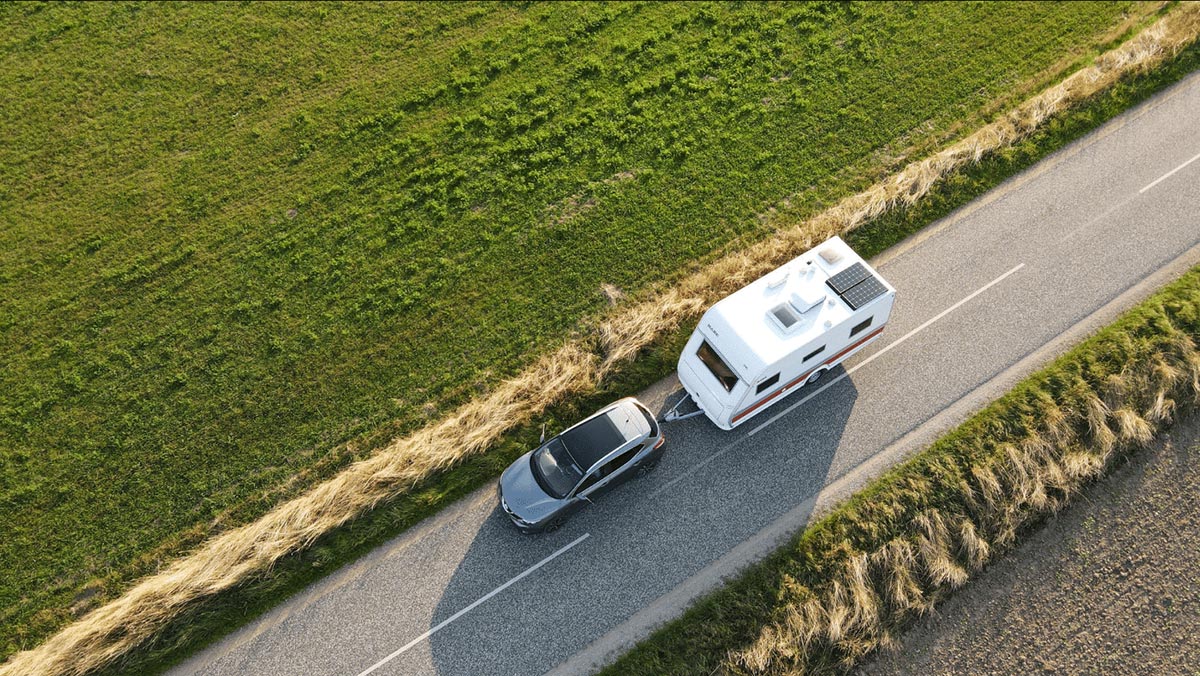
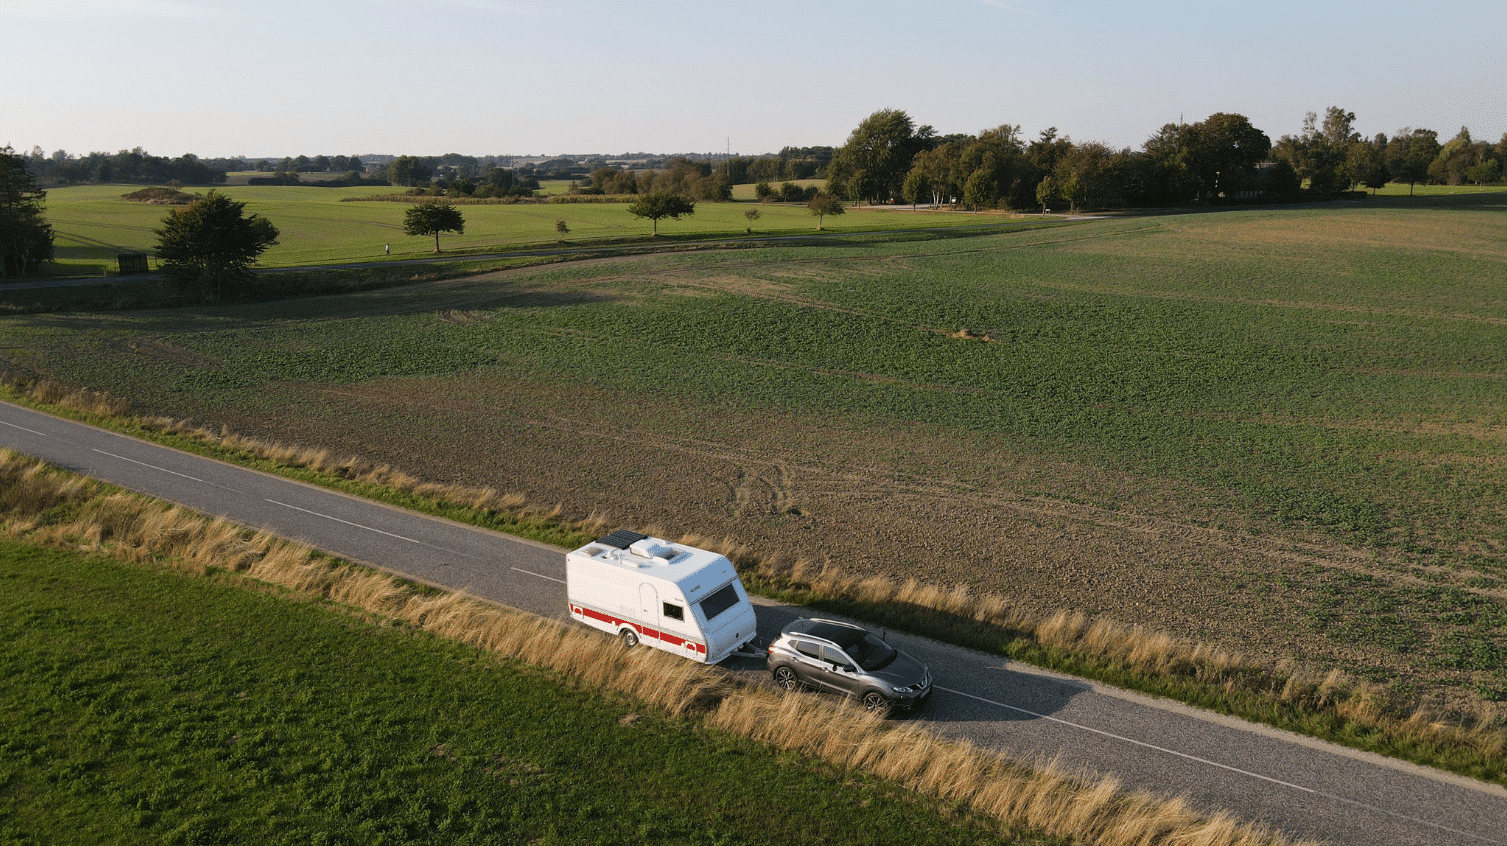
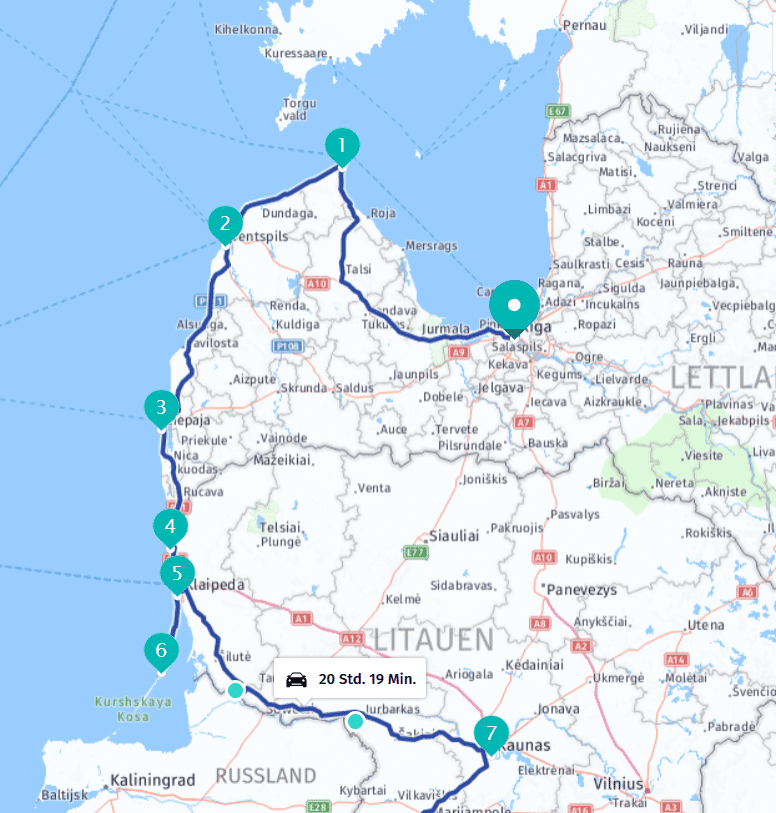
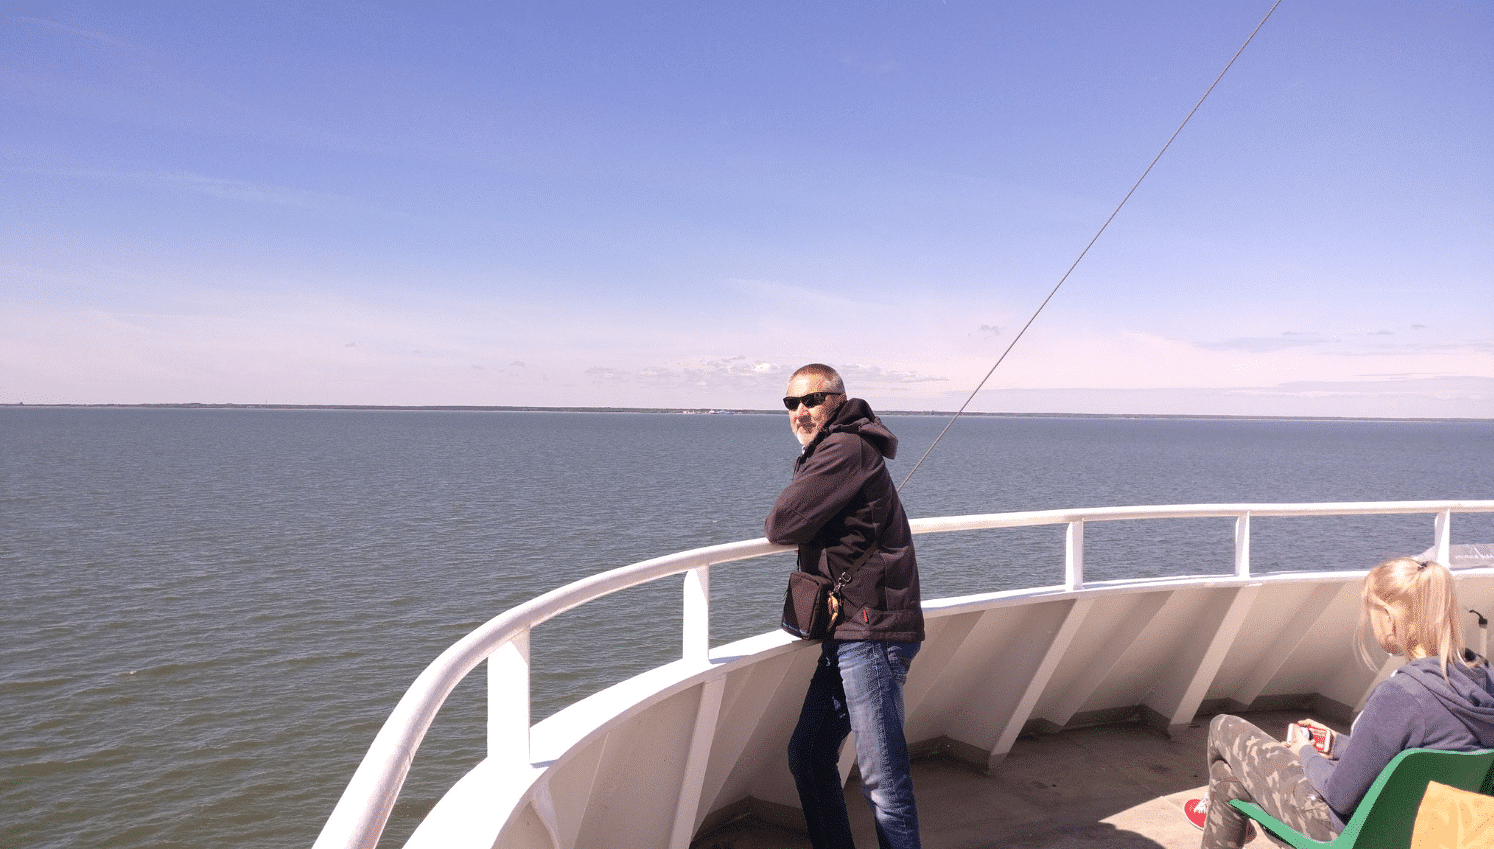
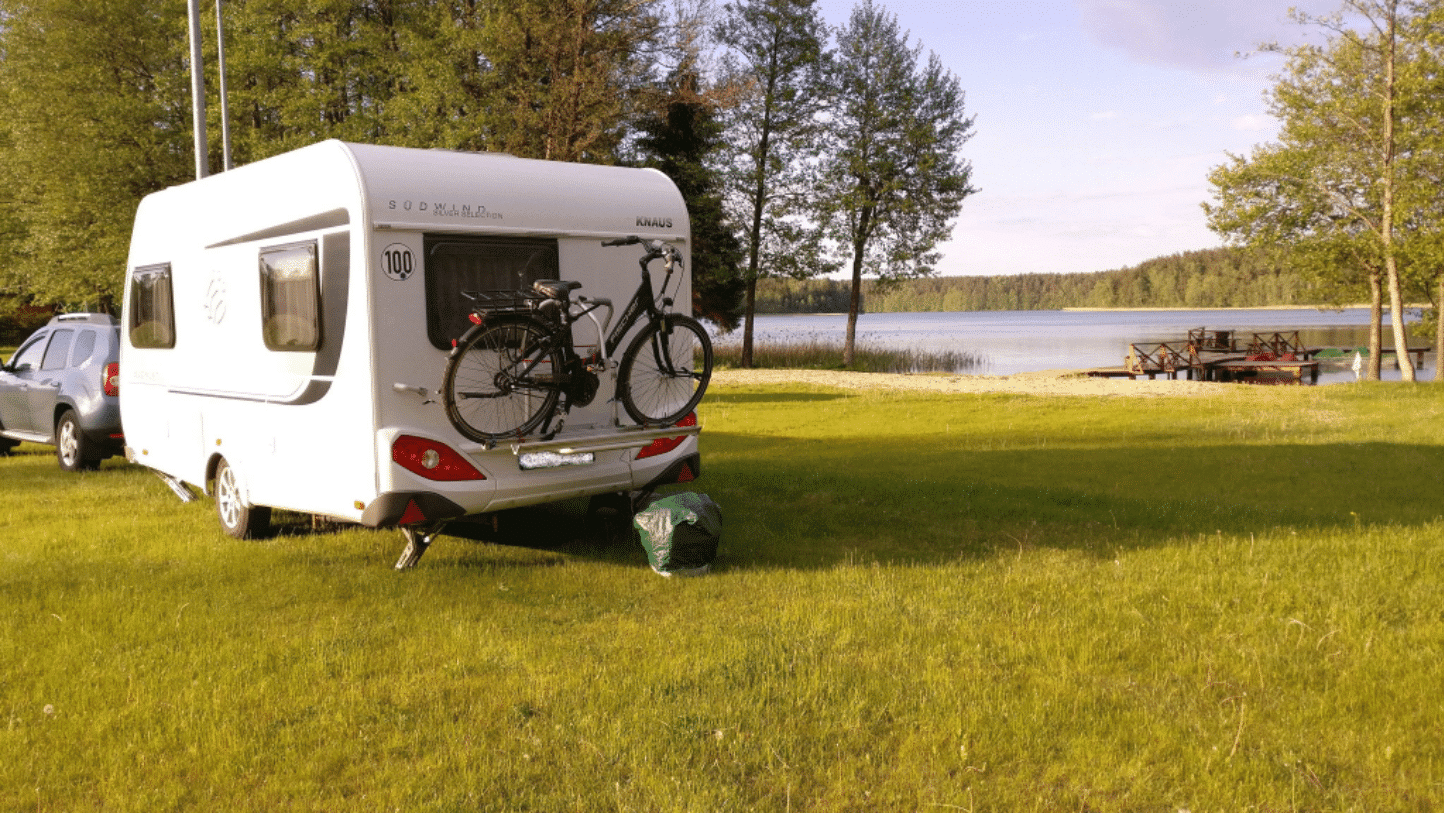
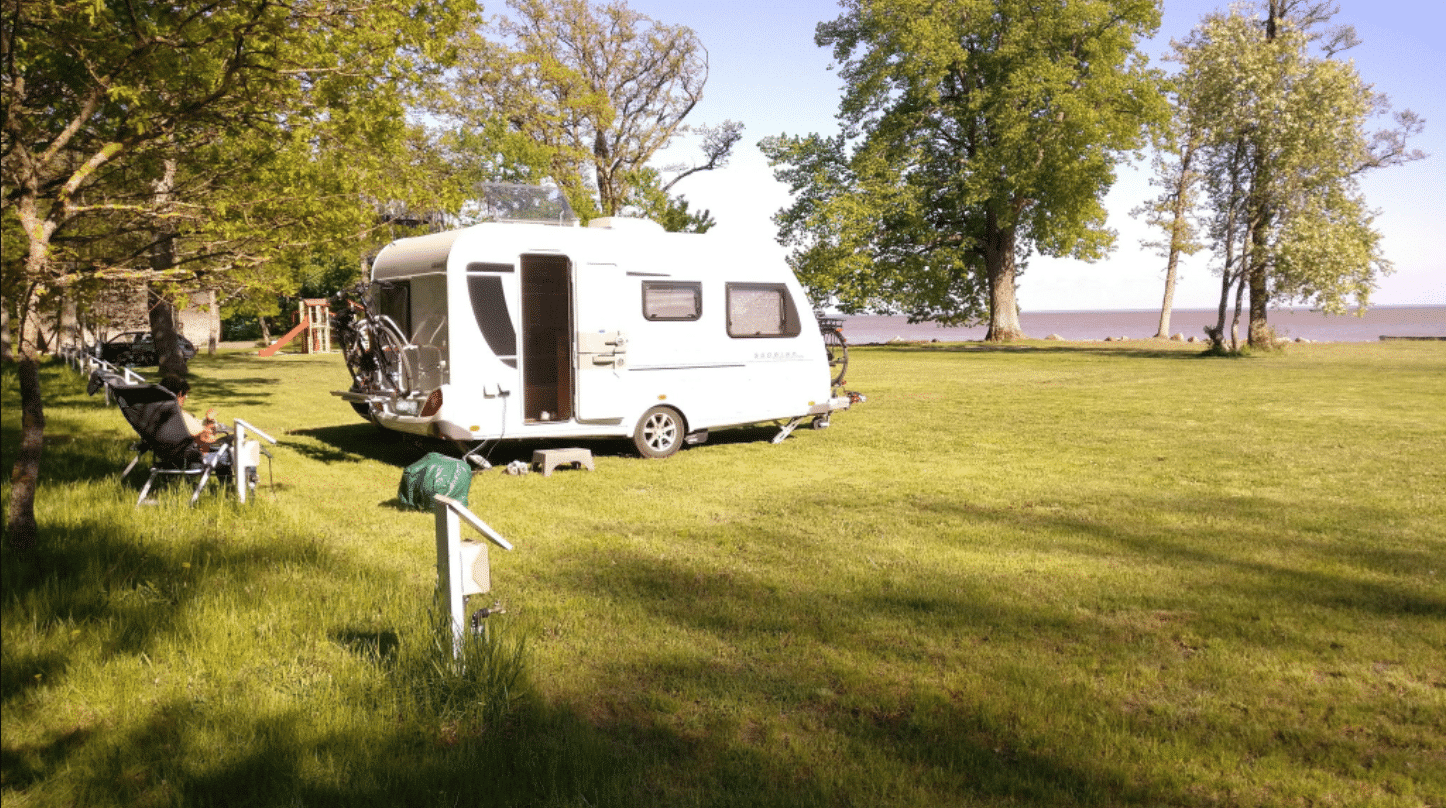
“… The return journey with the solar system on the roof of my caravan went through Riga, the Cape Kolka, Ventspils, Liepaja, Klaipeda and Palanga on the Curonian Spit to Nida. We then travelled along the Memel to Kaunas and later back home via Poland and always had enough solar power.
Thanks to the solar system on the caravan, 2/3 of the nights could be spent in the nature on hikers’ car parks, on cliffs, lakes and rivers. For the other 1/3 of the nights we used campsites to fill up with water, dispose of waste and take showers. It was another unforgettable adventure trip – free and independent with solar power from the solar system.”
Peter Karcher
 Dear Mr. Held,
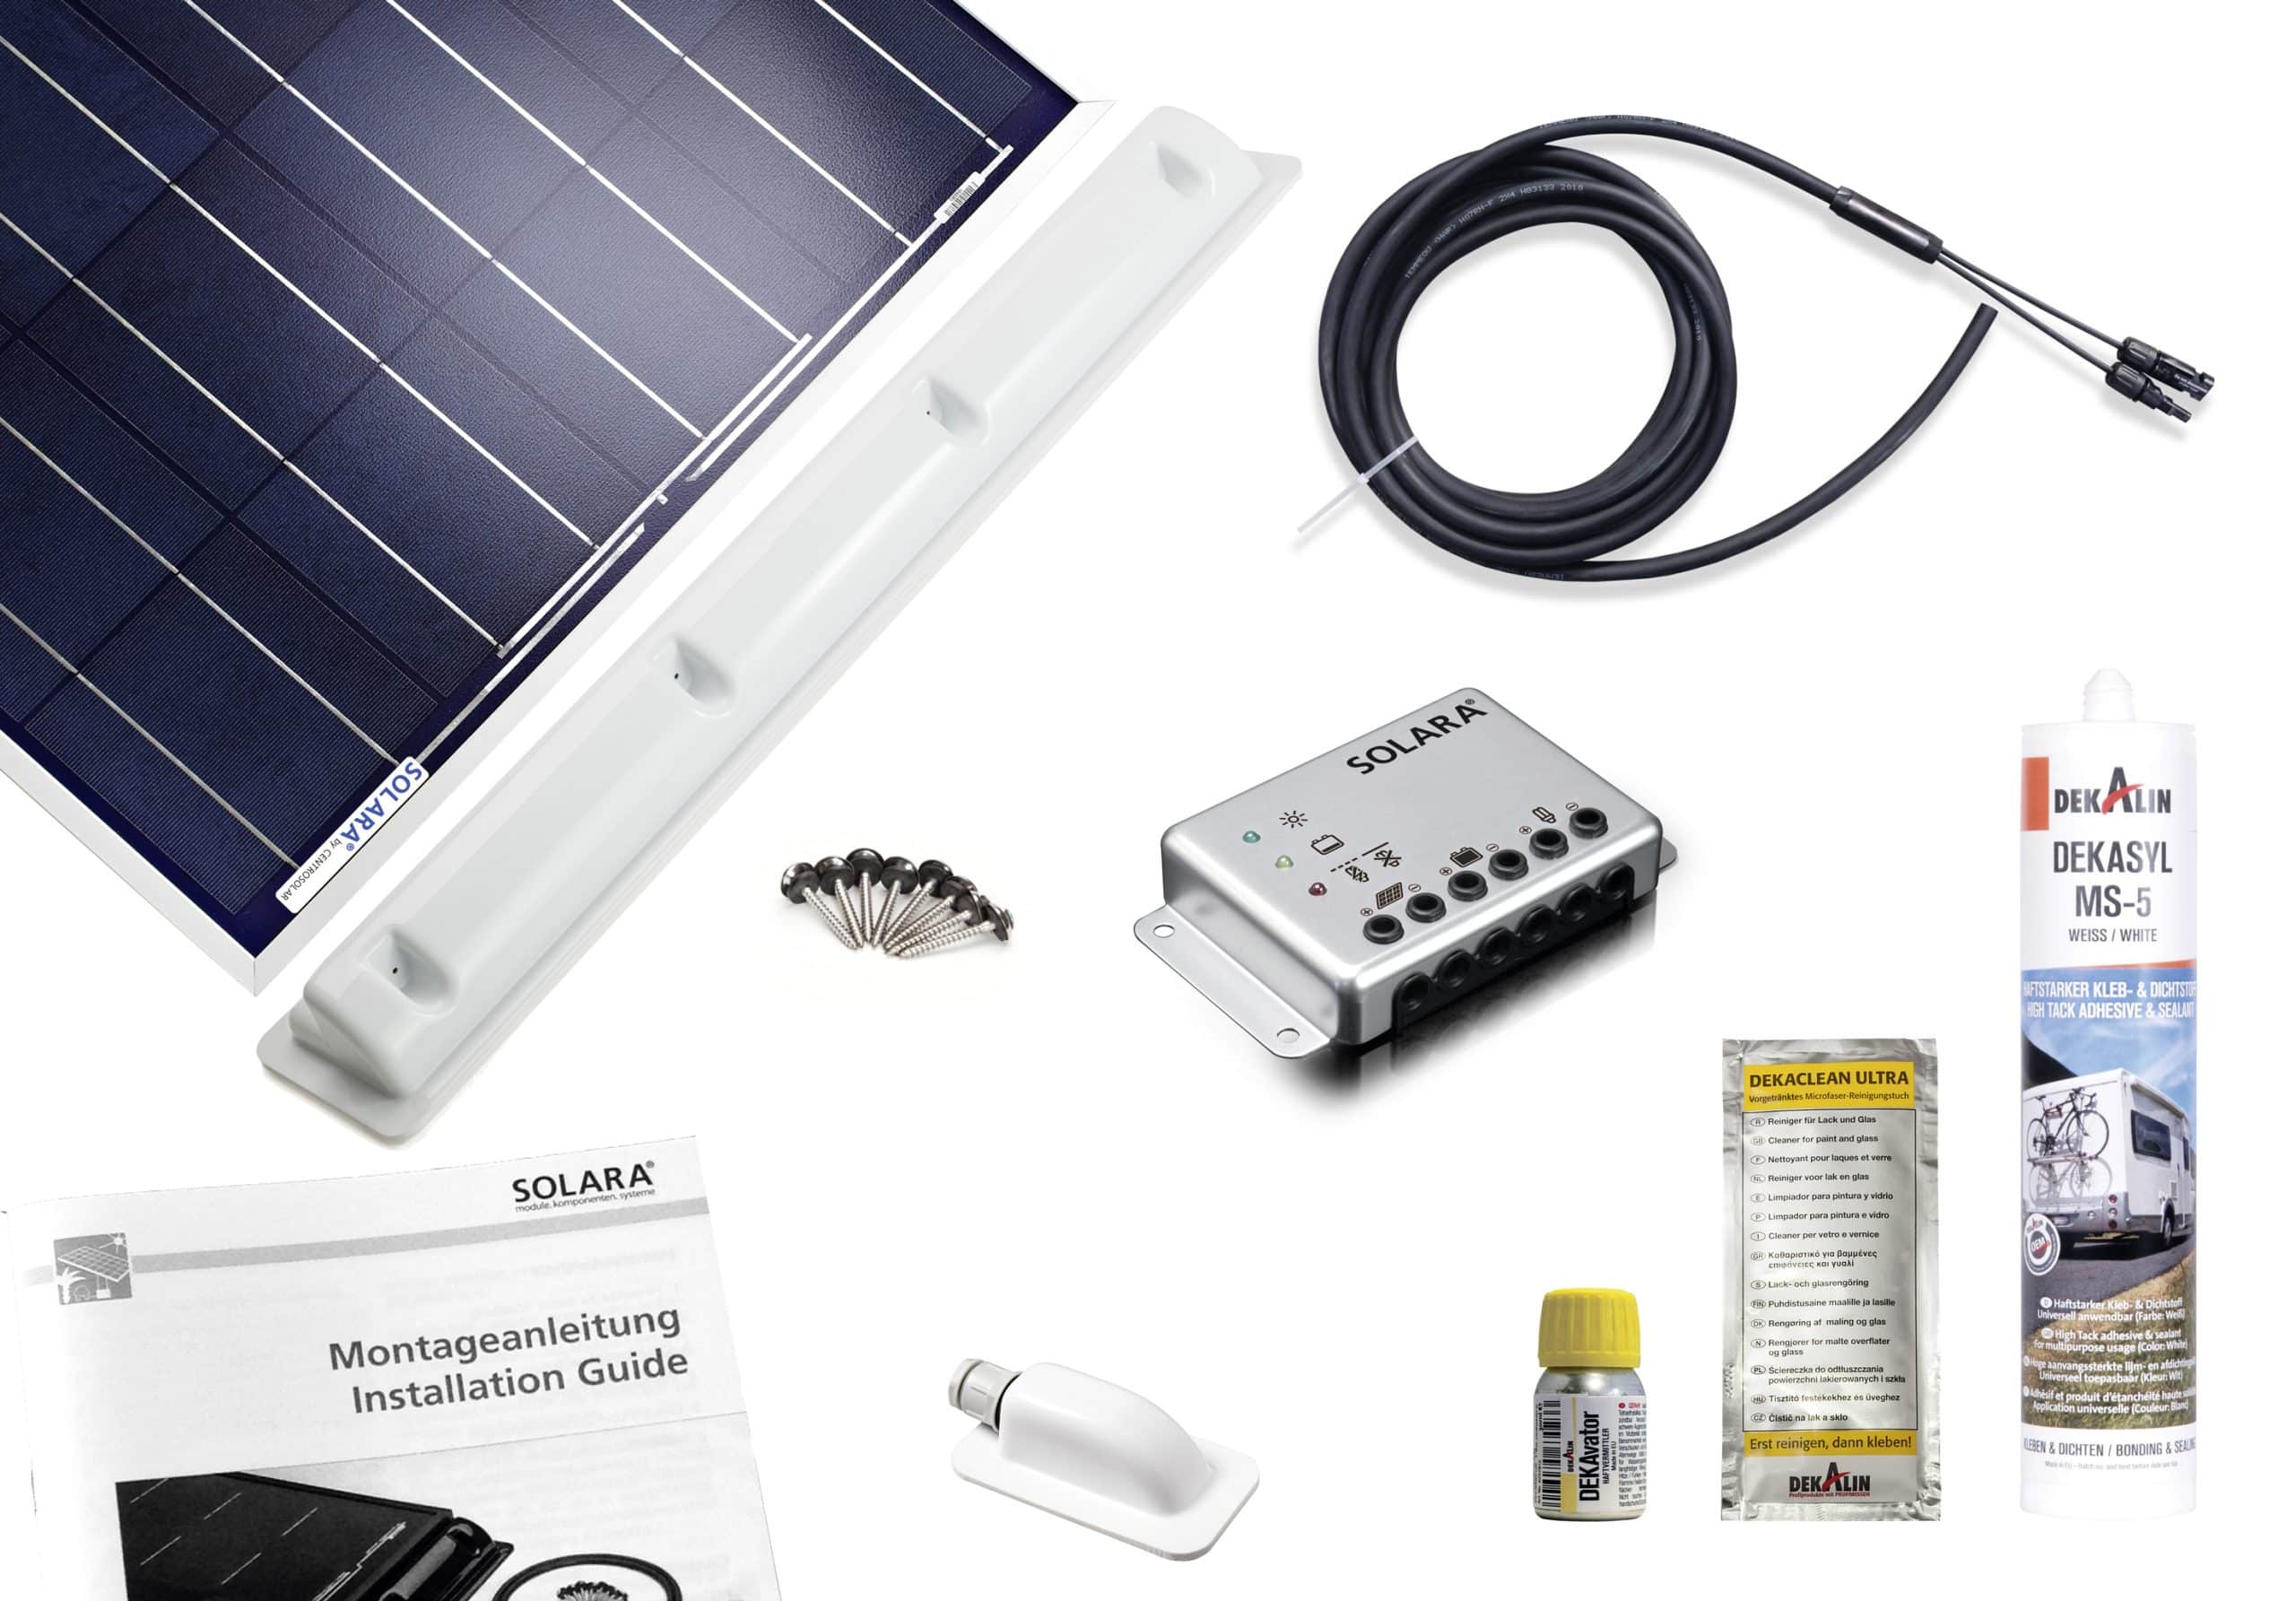
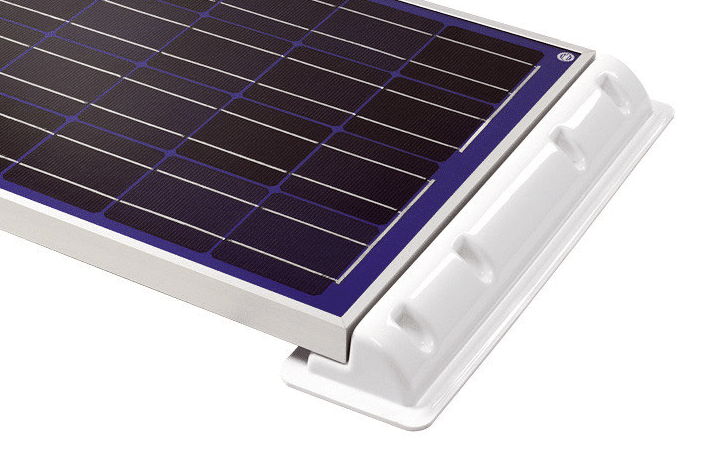
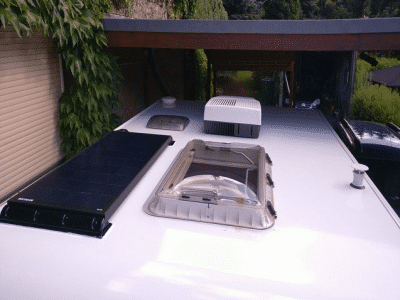
Thank you for the friendly contact and the very fast delivery of the ordered solar module incl. accessories (solar montagepoiler, roof duct and glue set). The solar module was delivered on Friday around midday so I could mount the module on Saturday on my caravan according to instructions.
 Since I had no further help, I had to mount the solar module alone and have changed your instructions somewhat.
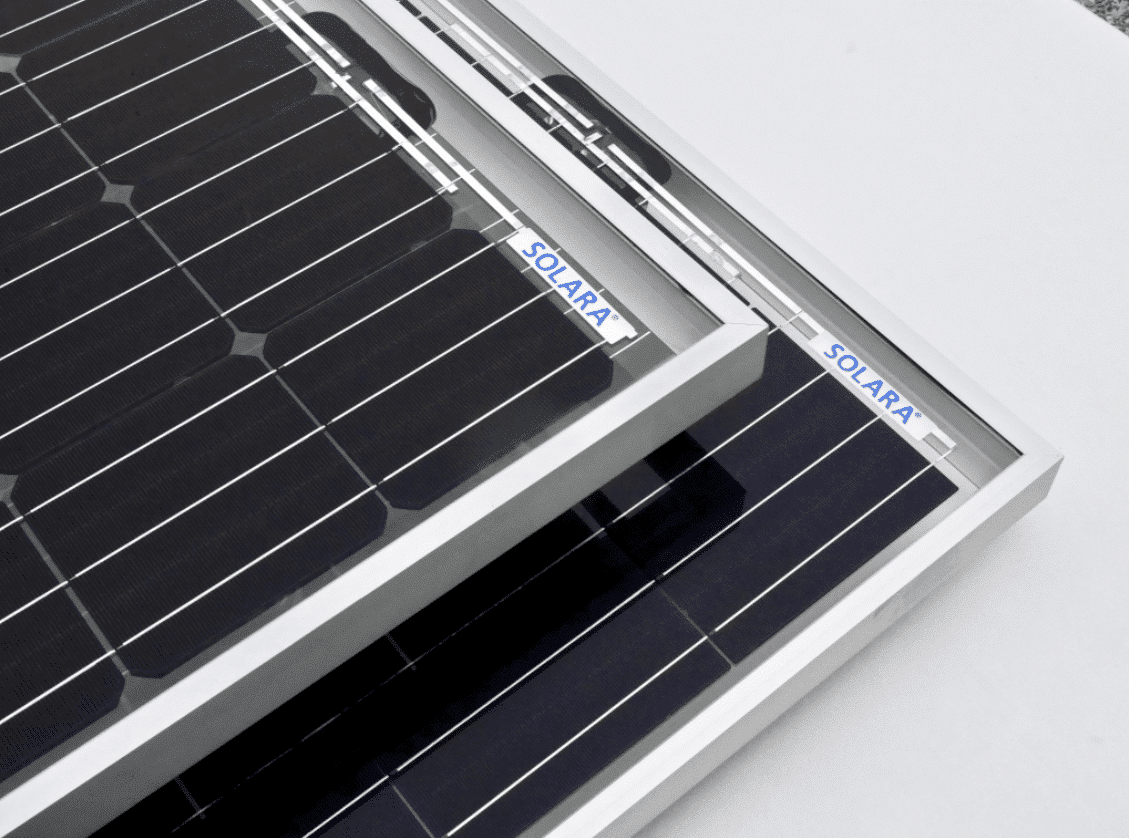
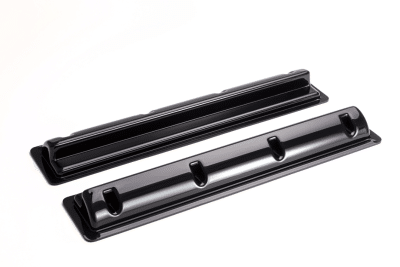
First I drilled the 4.5 mm holes in the two SOLARA spoilers for the solar module. Using these holes, the necessary drill holes of 3.5 mm are transferred to the frame of the module and drilled. In addition, I have inserted a total of 5 drill holes at the lower longitudinal sides of the module frame at intervals of 15 to 20 cm in order to be able to attach the solar cable and the MC4 solar plug with cable ties.
 The solar module I have glued with a cardboard on the surface to protect it during the further assembly and prevent the current is generated.
Then I put the module at the selected place and traced the edges of the roof passage and the spoilers with a felt pen on the roof.
This was followed by the sanding, cleaning and priming of all adhesive surfaces from the module, the roof duct and on the roof itself.
I put the glue directly on the caravan roof against your instructions and put the module only afterwards in the desired position.
For this I used an air mattress. This was pumped up slightly and once folded centred under the solar module. The module could be positioned very precisely at the desired position by carefully venting air. After the solar module was slightly pressed and the remaining air was removed from the mattress, this could be easily extracted from under the module.
 Now the cable lead-in applied, with an adhesive tape secured and then smoothing out all adhesive edges with a wett finger.
I left it for 24 hours under the carport. On Sunday it then was extensively tested.
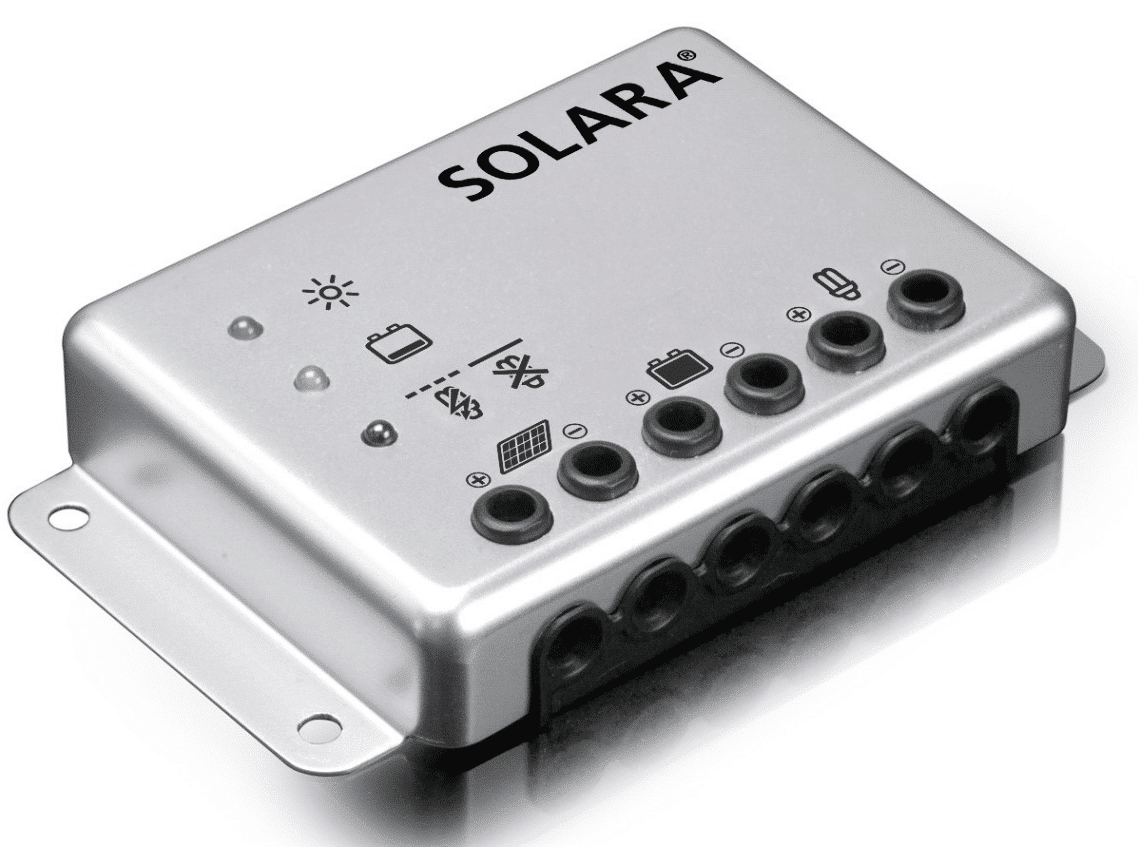
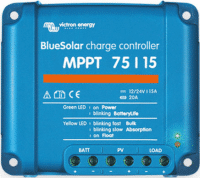
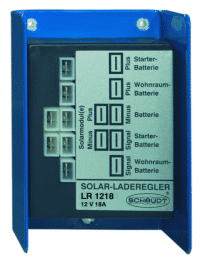 As a solar regulator, I had already connected a PWR regulator from Schaudt, the LR 1218, to the Schaudt Elektroblock CSV 409 and operated a mobile, foldable 100 Wp solar panel.
 The build-up battery is a storage battery LITH-110 12.8V lithium iron phosphate with 110 Ah. Therefore, max. 220 Wp Solar connected to the solar controller.
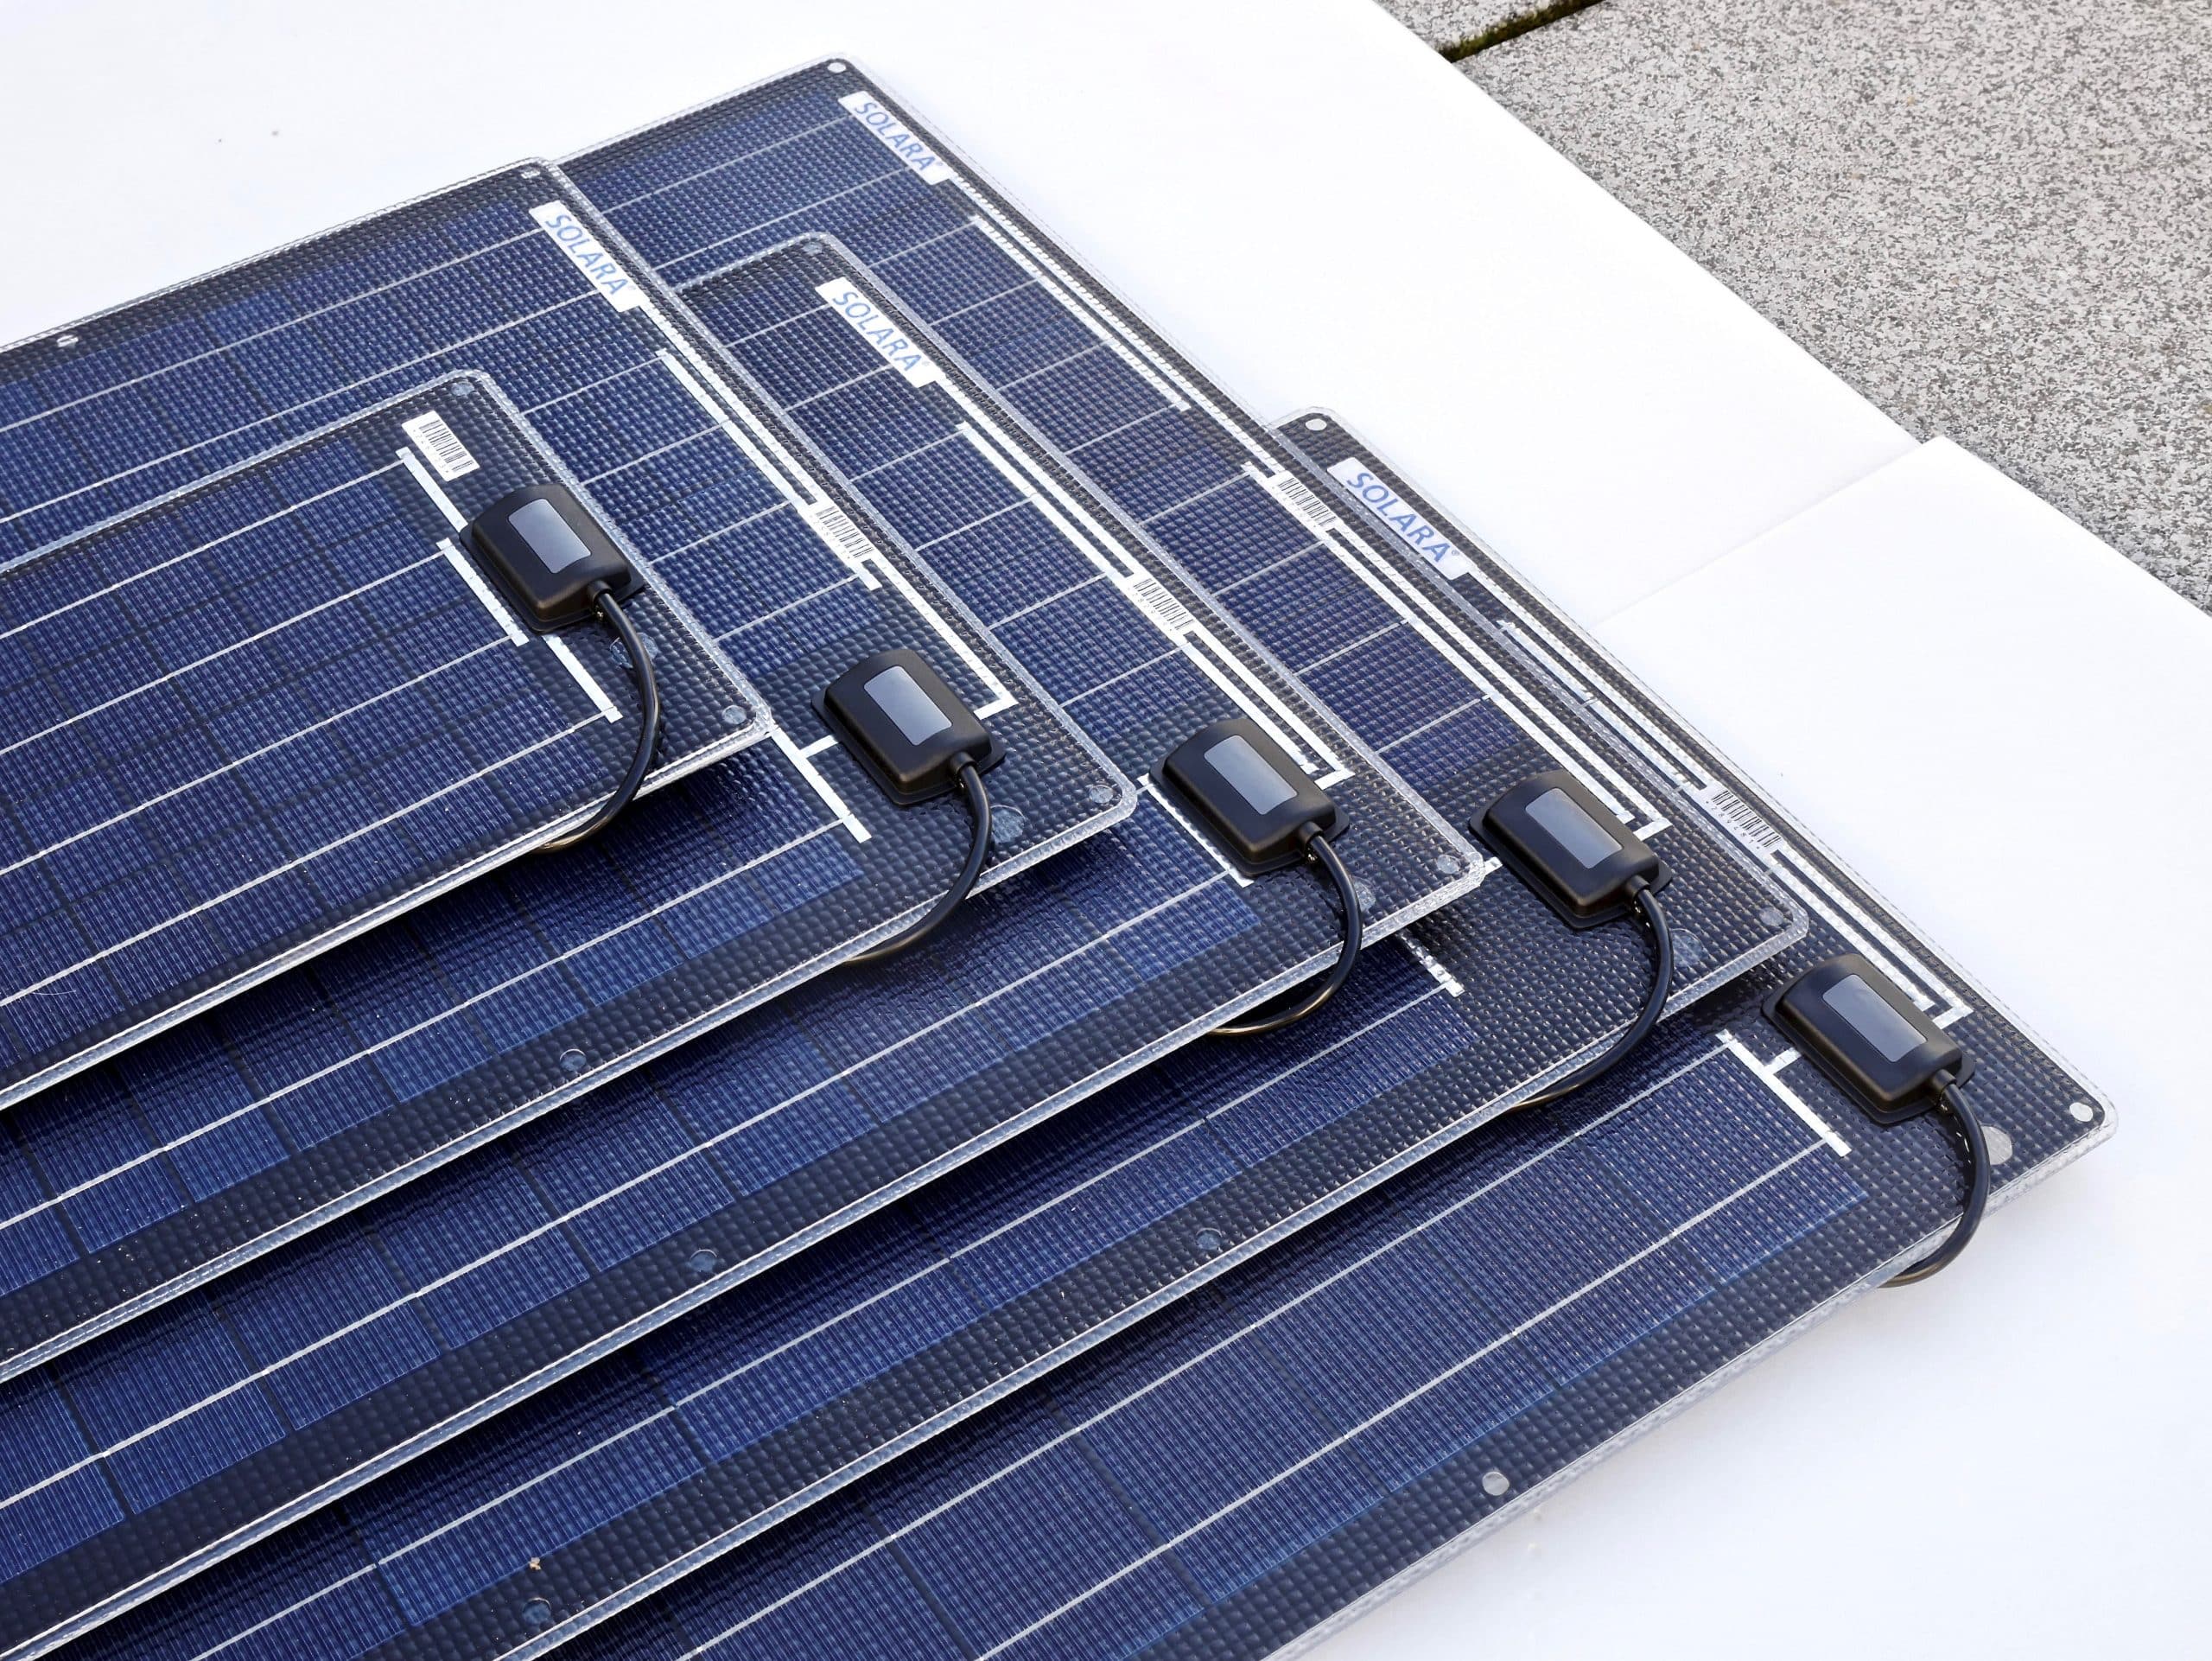
The Solara module S480M36 has achieved a daily yield of 32 amperes (from 22 A – 20% to 54 A – 49% battery charge state). This means that the performance corresponds to your data.
 The Solara module S480M36 has achieved a daily yield of 32 amperes (from 22 A – 20% to 54 A – 49% battery charge state). This means that the performance corresponds to your data.
Peter Karcher

 Dear Mr. Held,
 Since I had no further help, I had to mount the solar module alone and have changed your instructions somewhat.
 The solar module I have glued with a cardboard on the surface to protect it during the further assembly and prevent the current is generated.
 Now the cable lead-in applied, with an adhesive tape secured and then smoothing out all adhesive edges with a wett finger.
 As a solar regulator, I had already connected a PWR regulator from Schaudt, the LR 1218, to the Schaudt Elektroblock CSV 409 and operated a mobile, foldable 100 Wp solar panel.
 The build-up battery is a storage battery LITH-110 12.8V lithium iron phosphate with 110 Ah. Therefore, max. 220 Wp Solar connected to the solar controller.
 The Solara module S480M36 has achieved a daily yield of 32 amperes (from 22 A – 20% to 54 A – 49% battery charge state). This means that the performance corresponds to your data.